

I Made These CapCut Overlays With AI
By Malloy Studio - Published November 10, 2026
Watch the walkthrough on YouTube.
Animated charts, lower thirds, interface callouts, and follow cards can make an edit clearer and more useful. Building each one from scratch can also take time you don't have.
In this walkthrough, we create custom motion graphics with Malloy Studio, refine them without code, and export them with transparent backgrounds for CapCut. The example is an animated Instagram follow card, but the same workflow applies to other overlays you need for your videos.
Quick Answer
Describe an overlay in Malloy Studio or upload an image reference. Generate a first version, refine its layout and motion, then export a transparent video at the aspect ratio of your CapCut project. Import the file into CapCut and place it on a track above your footage.
1. Choose Your Motion Graphics Agent
Malloy Studio runs in the browser. You can start creating without configuring a code project or installing an animation framework.
Before generating, choose between Pixel Duck and Rubber Duck:
- Pixel Duck follows your instructions more directly. It's a useful choice when you already know how the graphic should look.
- Rubber Duck makes more of the composition and style decisions. It's a useful choice when you want creative direction from Malloy.
The walkthrough uses Rubber Duck for its examples. Our Pixel Duck and Rubber Duck guide explains the distinction in more detail.
2. Describe the Overlay and Its Animation
The first example is an Instagram follow card. Upload the profile image, then describe the content: a username, short bio, and Follow button.
Next, explain the sequence. In the walkthrough, the card pops into view before the button changes from Follow to Following with a check mark.
A suggested prompt is:
Create an animated Instagram follow card using this profile image. Include my username, a short bio, and a Follow button. Have the card pop into view, then change the button from Follow to Following with a check mark. Keep the text readable when the card is placed over video footage.
The important detail is the order. Listing the elements tells Malloy what to build; describing the interaction tells it how those elements should move.
If you need ideas for another type of overlay, start with our motion graphics prompting guide.
3. Refine the First Result
Watch the animation once before changing it. Check whether the elements appear in the correct order and whether the card will be readable at its final size.
In the demonstration, the first generation has the right idea, but the overall card size and font sizes need adjustment.
You can make those changes through a follow-up prompt. For example:
Make the card more compact and increase the username size. Keep the Follow-to-Following button interaction and its order.
For more precise adjustments, use the controls beside the animation. The demonstrated card has controls for its overall scale and individual font sizes, so the typography can change while the animation remains intact.
Think about the actual frame you're editing. A card that looks readable in a large preview may need larger text when it appears in the corner of a video.
4. Use an Image Reference When You Need Visual Direction
You don't need to invent the entire design in words. In the second example, we browse Pinterest for a reference with a clear layout and a style that suits the video.
Save the reference image, upload it to a new Malloy project, and write a short prompt describing your content and how it should move.
The image supplies the visual direction. The prompt supplies the message and animation sequence. For example:
Use this image as inspiration for the card's layout and visual style. Replace the content with my profile details, have the card enter smoothly, and animate the Follow button changing to Following.
In the tutorial, the reference guides the structure and style rather than every individual detail. That leaves room to make the result fit your own edit.
5. Export With a Transparent Background
Before exporting, match the animation's aspect ratio to the CapCut project. Use 9:16 for a vertical edit or 16:9 for a horizontal one.
Keep the background transparent, then export the animation as a transparent video. This is what allows the graphic to sit above your footage without an opaque rectangle covering the scene.
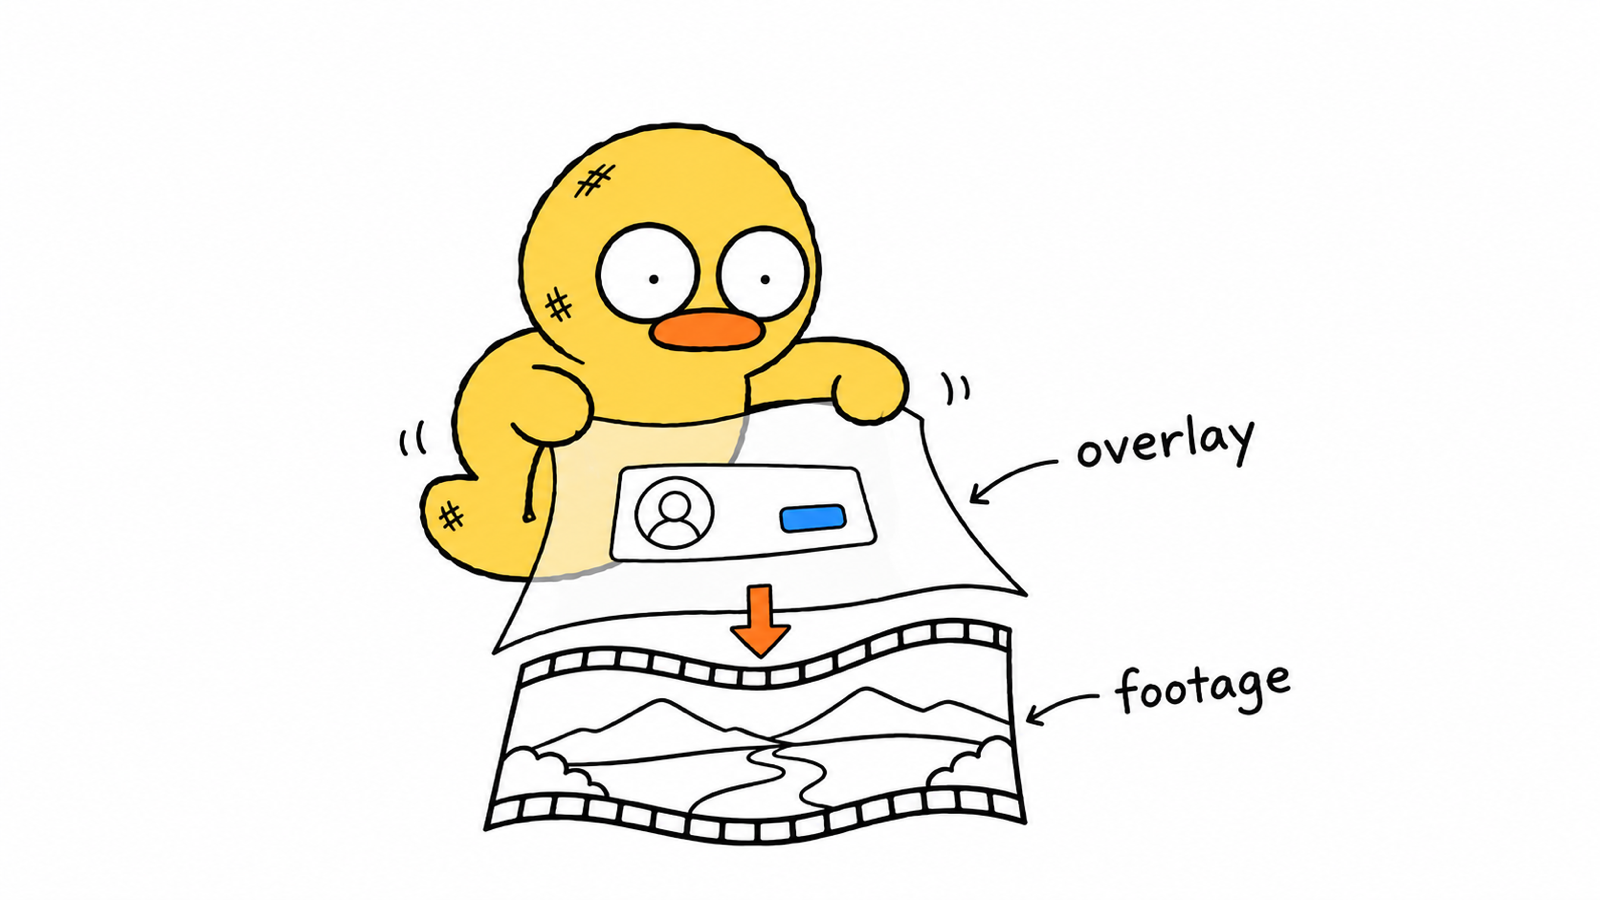
6. Add the Overlay in CapCut
Import the exported file into CapCut as you would other media. Place it on the track above your main footage.
Because the background is transparent, only the graphic appears over the scene. You can then:
- Resize the overlay to fit the frame
- Reposition it around the subject and existing text
- Trim it to the moment where it's useful
- Duplicate it elsewhere in the edit
Play the sequence in context. Check that viewers have time to read the card and that it doesn't compete with captions or cover something important.
Malloy handles creating the motion graphic. CapCut is where you position it within the story, time it against the footage, and finish the edit.
The Workflow to Repeat for Your Next Overlay
Start with one graphic your video actually needs. Describe it or upload a reference, generate a first version, refine the design, and export it with transparency.
That keeps the task focused. You can create a single follow card or callout without having to build an entire animation project around it. Our guide to adding motion graphics without After Effects covers more ways to use these assets in an editing workflow.
Frequently Asked Questions
Do I Need to Build the Card or Add Keyframes Myself?
The demonstrated workflow uses a prompt and profile image to generate the card and its interaction. You then refine it through follow-up requests and customization controls.
Why Does the Background Need to Be Transparent?
Transparency lets the original footage remain visible around the graphic when you place the exported animation on a track above it in CapCut.
Can I Start With a Reference Image?
Yes. The walkthrough's second example uses an uploaded image to guide the layout and style, alongside a prompt describing the animation.
Related articles
Keep reading
April 9, 2026
How to Add AI Motion Graphics to Your Videos Without After Effects
Learn how to add professional AI motion graphics to your videos in minutes. No After Effects, no templates, no design skills. Just describe what you need.
June 2, 2026
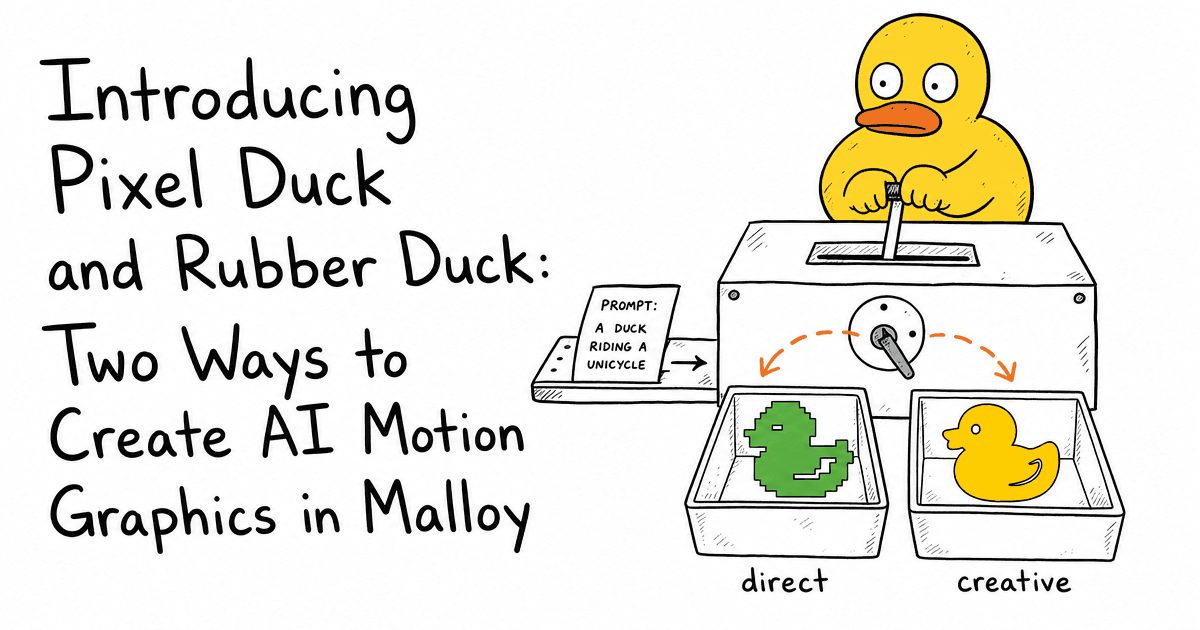
Introducing Pixel Duck and Rubber Duck: Two Ways to Create AI Motion Graphics in Malloy
Meet Pixel Duck and Rubber Duck, two Malloy animation modes for choosing between direct, literal generation and more creative interpretation.
June 16, 2026
What to Prompt for AI Motion Graphics When You Do Not Know Where to Start
Stuck staring at a blank AI motion graphics prompt? Learn how Malloy Studio helps you start from templates, remix existing layouts, and use image references.
Create Your Next CapCut Overlay
Choose one overlay you need for your next edit and try it in Malloy Studio. Generate it, refine it, and bring the transparent export into CapCut where it belongs in your video.