

How to Create Viral Explainer Reels with AI (Full Guide)
By Malloy Studio - Published November 10, 2026
Watch the walkthrough on YouTube.
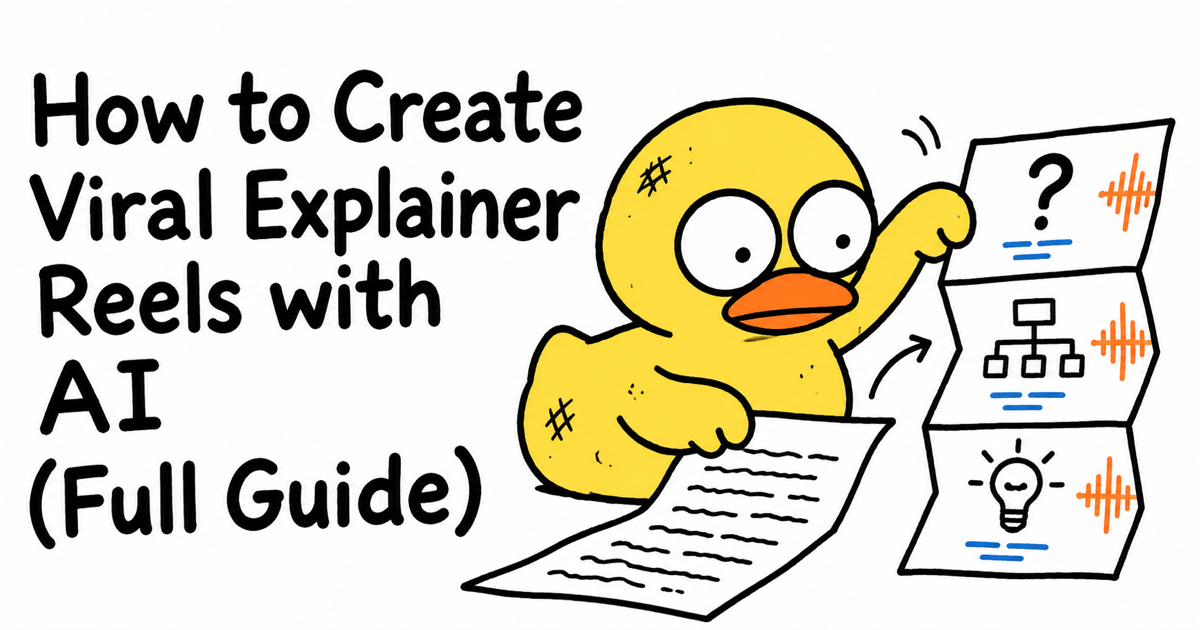
A good short explainer starts with a question that makes you want the answer. The animation helps deliver that answer clearly, whether the topic is technology, science, money, or something your audience keeps asking about.
In this walkthrough, we use Malloy Studio to turn a short script into an explainer with visuals, voiceover, captions, and animation. Here's how to take the idea from a source article to an exported Reel.
Quick Answer
Write and fact-check a short narration script. In Malloy Studio's Generate tab, choose Explainer, paste the script, and select a visual style, narrator, subtitle setting, and aspect ratio. Generate the video, review each scene, customize the details, and export.
1. Pick a Question Worth Explaining
Start with something your audience is curious about. That might be a story they've seen but don't understand, a surprising fact, or a familiar process they've never had explained clearly.
The walkthrough uses a news story as its starting point. The useful pattern is to identify the gap between what people have seen and what they still want to know.
Before writing, decide what one question the video will answer. That gives the script a direction and makes it easier to cut details that don't help.
2. Write the Script Before Generating the Video
You can draft the narration with ChatGPT or Claude. Ask for a short script that opens with the most surprising supported detail, explains what happened and why it matters, and ends with a memorable takeaway.
Here's a suggested prompt based on that approach:
Write a roughly 60-second explainer script using the source material below. Open with the most surprising supported detail, explain what happened and why it matters, and end with a clear takeaway that answers the opening question. Use plain language and flag claims that need checking.
Check every factual claim against the source material. Then read the script aloud and remove anything that sounds awkward or takes too long to explain.
The script you paste into Malloy is what the narrator will say. Finish the wording before you generate so the voiceover says what you actually intend.
3. Choose Explainer in Malloy Studio
Open the Generate tab and choose Explainer from the mode menu. Paste your final narration script.
The tutorial's example is estimated at about 58 seconds. The version shown supports explainers up to 60 seconds, so checking the duration helps you confirm the script fits before generating.
If it's too long, tighten the explanation. Keep the opening question, the essential reasoning, and the answer. Those are the parts the viewer came for.
4. Choose a Visual Style
The walkthrough shows styles ranging from clean 2D graphics and Whiteboard Doodle to Paper Cutout, editorial collage, cartoon characters, and 3D options.
The example uses Immersive 3D, which creates full-screen scenes that the camera moves through.
Choose the style that helps communicate your subject. A hand-drawn treatment can suit a diagram or step-by-step explanation. A collage treatment can suit a story built around images and editorial context. Once you've found a direction you like, keeping it consistent can help a recurring series feel connected.
5. Preview the Voice and Set Up Captions
Preview the narrator voices before choosing one. The tutorial demonstrates British and American options and selects Brian for its example.
Listen for clarity and whether the delivery fits the script. A surprising opening still needs to sound natural when spoken.
Choose whether to include subtitles. In the walkthrough, they stay on so viewers can follow the explanation without relying on audio.
6. Set the Aspect Ratio and Generate
Choose the format for your destination:
- 9:16 for a vertical Reel
- 16:9 for a horizontal YouTube video
- Square for a square feed post
Then select Generate. Malloy breaks the script into scenes, designs the visuals, adds narration and captions, and animates the sequence.
In the demonstration, the result takes about five to six minutes. Treat that as the timing of the example rather than a fixed production schedule.
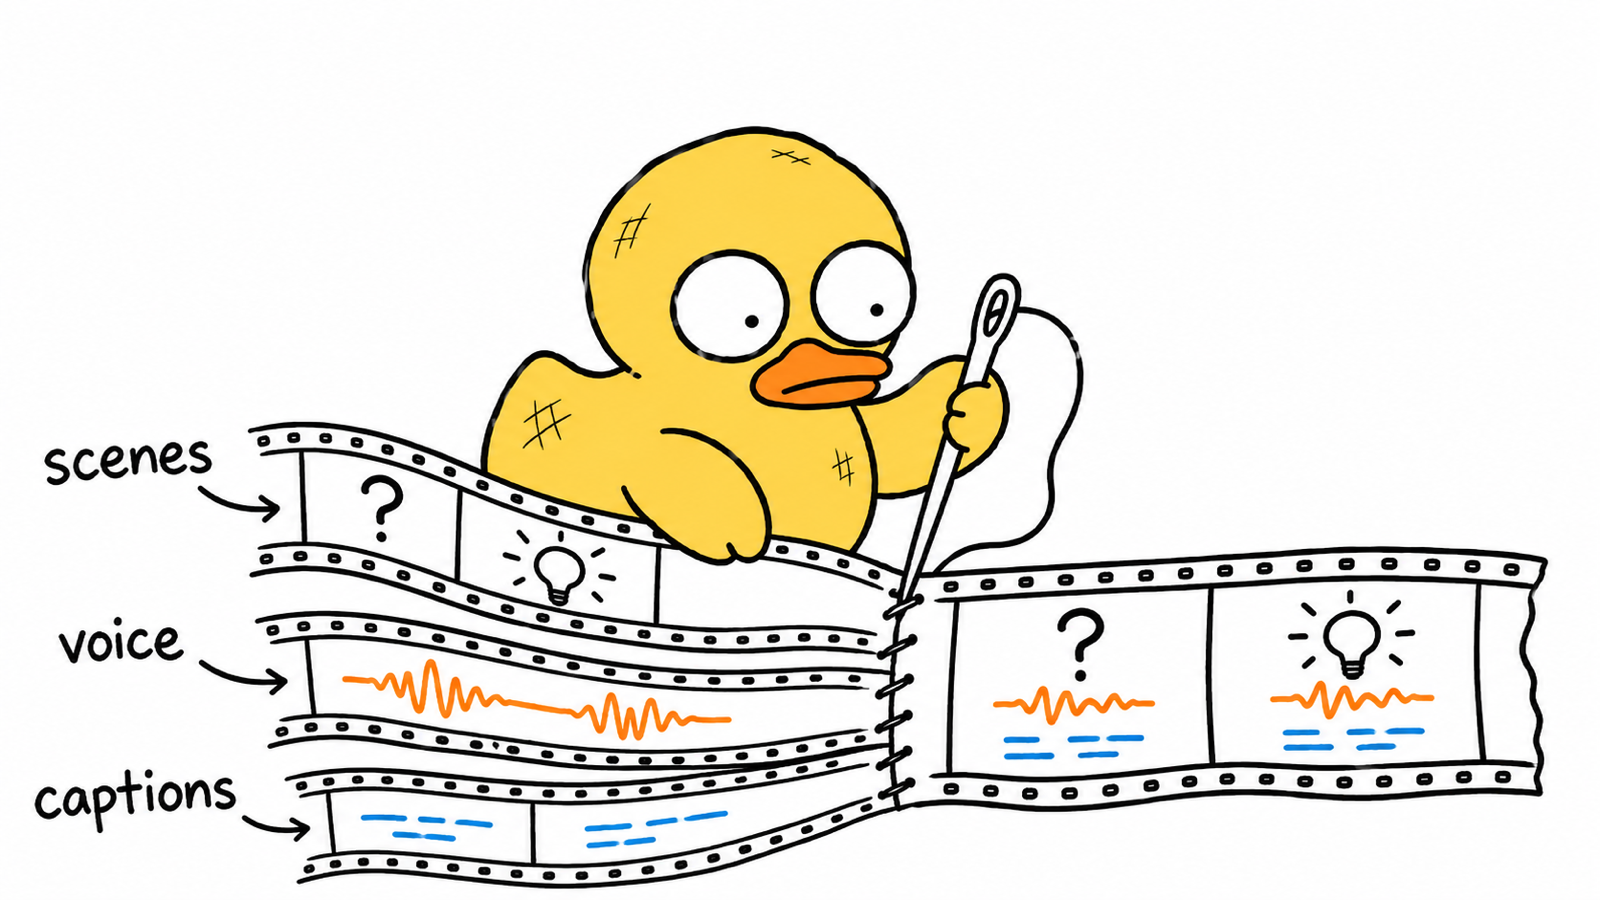
7. Customize the Scenes
Watch the complete video before exporting. Make sure the visuals support the narration and the captions are easy to read.
The tutorial shows controls for drawing and line colors, background colors, and caption position, size, and color. Individual scenes also have their own controls: the example demonstrates rewriting an on-screen label directly.
That means you can correct a label or adjust a visual detail after generation. For more on this workflow, see how Malloy makes AI motion graphics editable.
Review names, figures, and labels against your script and sources. The goal is a clear explanation from beginning to end.
8. Export the Explainer
Once you've reviewed the result, export the video for your chosen platform. The walkthrough also demonstrates a transparent background option if you want to put the animation over your own footage.
A full-screen explainer and an overlay serve different edits. Choose the background treatment based on whether this animation is the complete visual or one layer of a larger video.
How to Think About Cost Per Video
The walkthrough includes a cost comparison with other AI video tools. To apply that comparison to your own content plan, use the current price and credit allowance for the plan you're considering.
Divide the monthly plan cost by the number of finished explainers you expect to make. Include any additional generations or revisions that consume credits. This gives you a more useful production budget than counting only the first attempt.
Malloy's code-to-video approach also supports editing the generated scene elements. When a change can be made through a control, you can refine that element directly as demonstrated in the tutorial.
Turn One Explainer Into a Recurring Series
The final section of the video shows how the same workflow can support a repeatable format. Choose a topic family, keep the style and voice consistent, and answer a new question each episode.
Possible series directions include things your body does, how everyday technology works, myths and facts, or surprising numbers. Each episode should open a question and close it with an answer worth remembering.
The title's appeal comes from curiosity. The script earns the viewer's attention by delivering the explanation.
Frequently Asked Questions
Does Malloy Add the Voiceover and Captions?
Yes. The demonstrated Explainer workflow combines the script with generated visuals, a selected narrator voice, subtitles when enabled, and animation.
Can I Change Individual Scene Labels?
Yes. The walkthrough shows editing an on-screen label through a scene's controls, along with adjustments to colors and captions.
Related articles
Keep reading
June 8, 2026
Code to Video Generation: Why Editable AI Videos Beat One-Shot Renders
Learn what code to video generation is, why it matters, and how editable, reusable video systems make it easier to create explainers, dashboards, stories, and bulk video content.
June 22, 2026
AI Generated Content Is Hard to Control: How Malloy Makes Motion Graphics Editable
Learn how Malloy Studio turns AI-generated motion graphics into editable templates with controls for text, colors, layout, timing, X/Y position, and more.

April 9, 2026
AI Motion Graphics for Social Media: How to Make Your Content Stand Out
Learn how to use AI motion graphics to create scroll-stopping social media videos. Practical tips for YouTube, TikTok, Instagram Reels, and ads.
Make Your First Explainer Reel
Pick one question your audience would like answered, write a short script, and check its facts. Then open Malloy Studio, choose Explainer, and turn that explanation into a video you can review, customize, and export.